Today we’re taking a look at the new ZimaBlade from a company called Ice Whale.
If you’ve been following my projects for a while then you may recall that I tested their original product the Zimaboard about a year ago. Well this is a new generation that aims to appeal to a broader audience because it is significantly cheaper, smaller and easier to use.
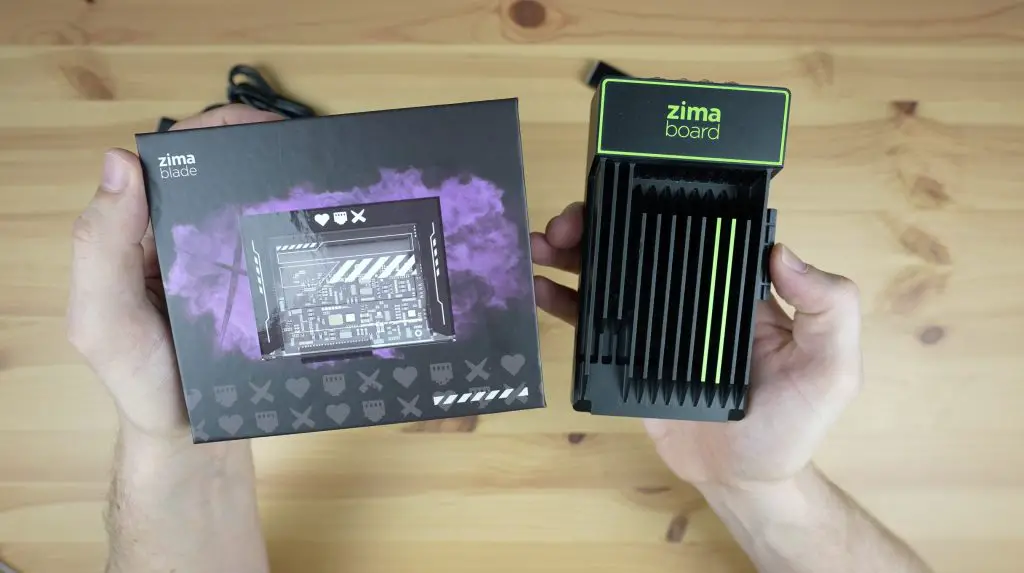
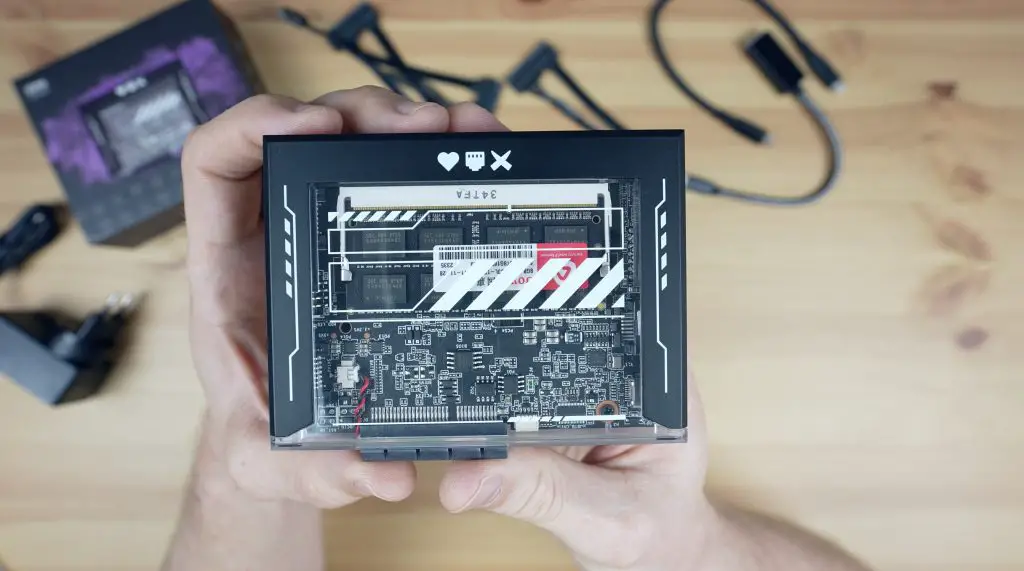
The ZimaBlade has been designed to be a powerful, compact and energy-efficient personal server, with an x86 architecture and a host of IO. This time, they’ve packed the board into a stylish Cyberpunk style case with a clear window into the internals.
It is currently being funded on CrowdSupply, with their campaign set to complete in mid-October. They’ll then get straight into their first mass production run, with plans to start shipping completed units to backers in January 2024.
Here’s my video review of the ZimaBlade, read on for the written review;
Where To Get The ZimaBlade
The ZimaBlade is currently being funded through CrowdSupply, take a look at their campaign below;
- ZimaBlade – Back Here
Equipment Used
Kit Options & First Look At The ZimaBlade
Like the ZimaBoard, the ZimaBlade comes in two processor options, a slower Celeron 3760 dual-core model and a faster Celeron 7700 quad-core model.
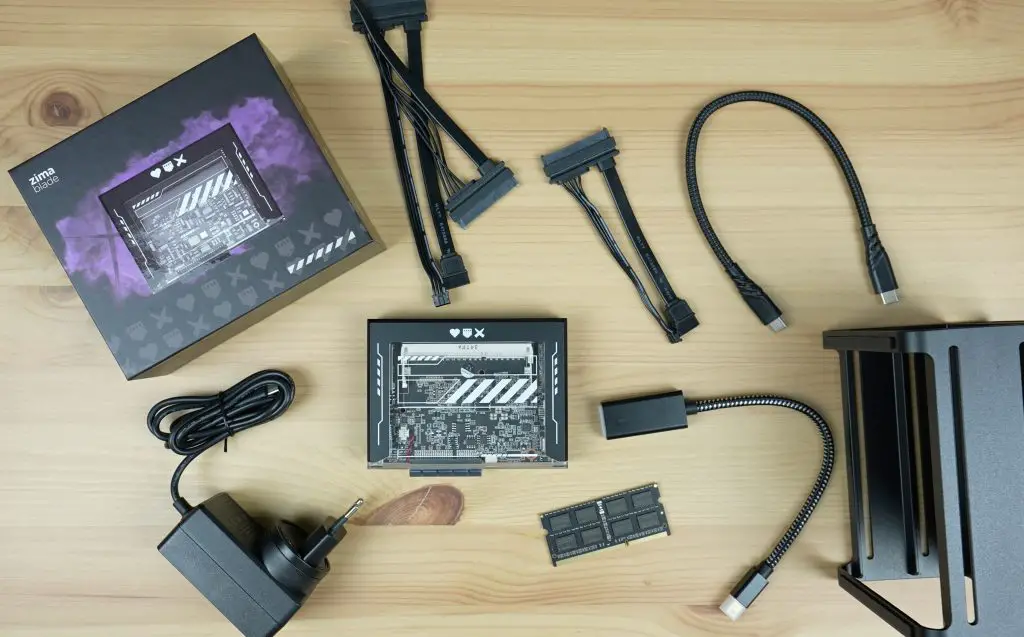
They are selling the ZimaBlade on CrowdSupply as part of a number of different kits, with the base kit dual-core model at $64 and the quad-core model at $96. So both are less than half of the price of the original ZimaBoard.
They then also offer an Advanced Kit for $128, which adds a power supply, display port adaptor and 16GB of DDR3 RAM to the standard quad-core kit. They’ve got a NAS kit for $144, which is the Advanced Kit with a dual 3.5” storage drive stand and a SATA Y Cable. To complete the line-up, they have a Cluster Kit for $392 which is essentially three Advanced Kits but also includes a storage drive stand and some Y Cables.
RAM is in the form of a SODIMM slot which is expandable up to 16GB. I like that it’s got the flexibility to customise and upgrade this as you need.
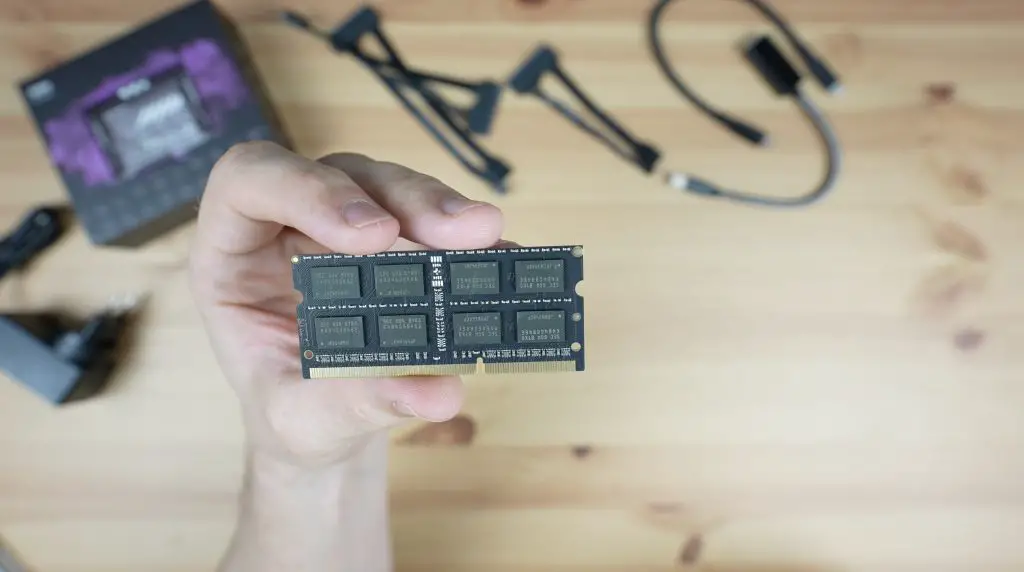
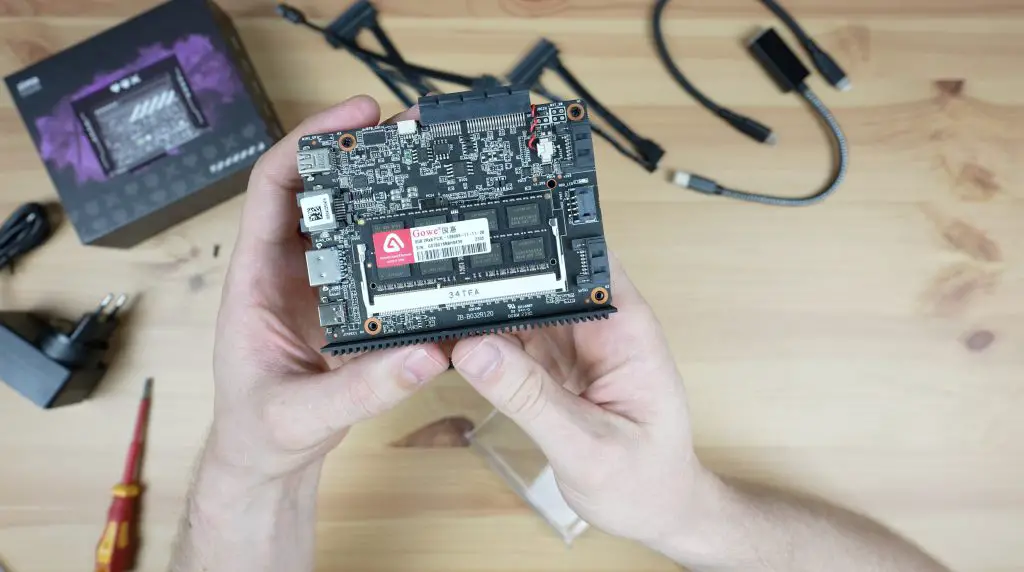
There is also 32GB of integrated eMMC storage.
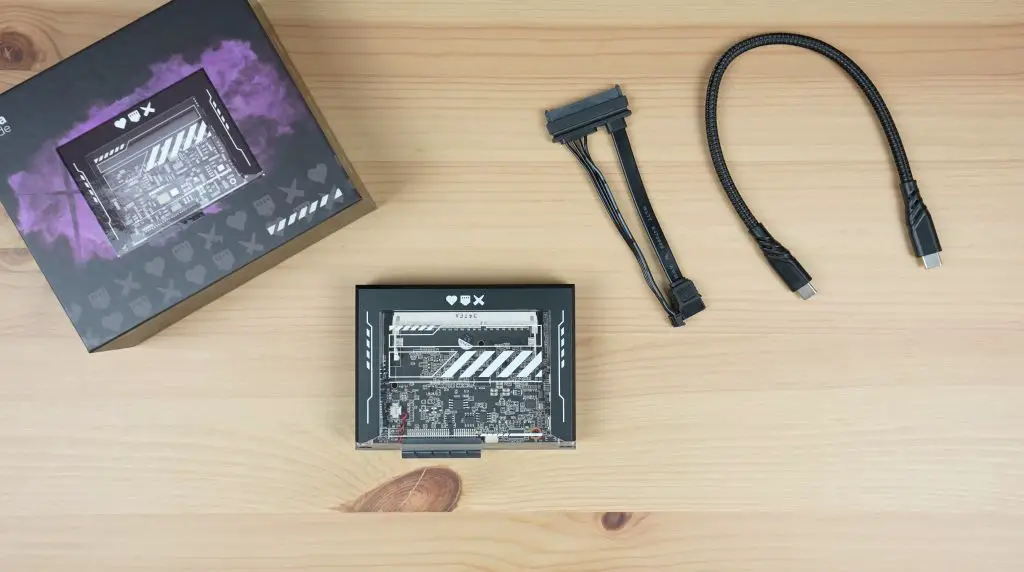
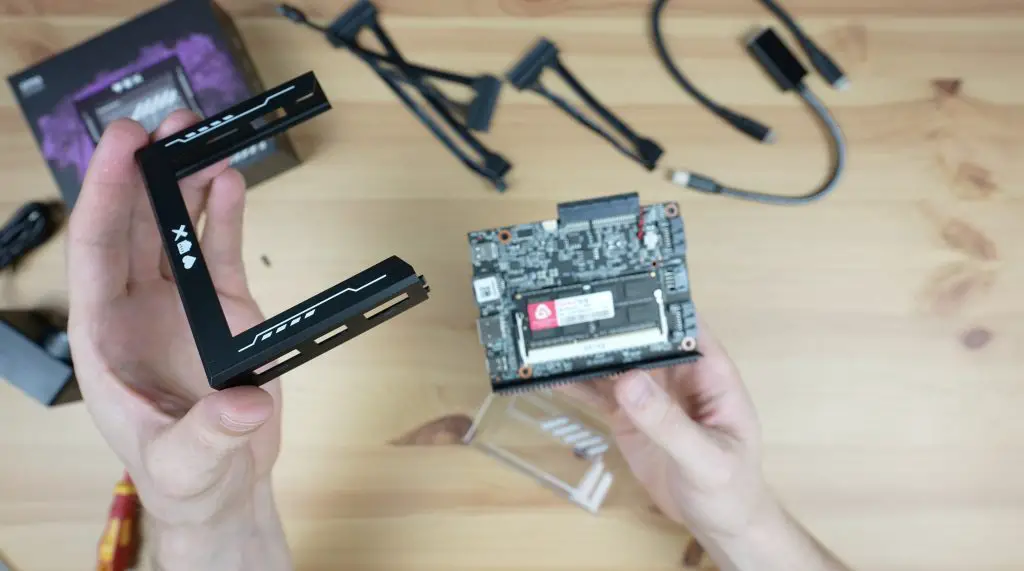
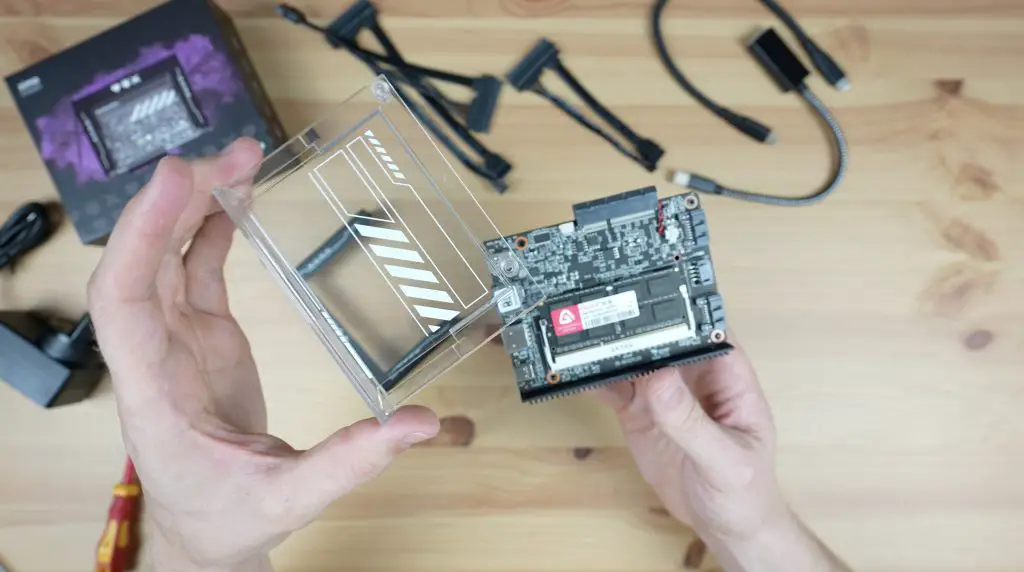
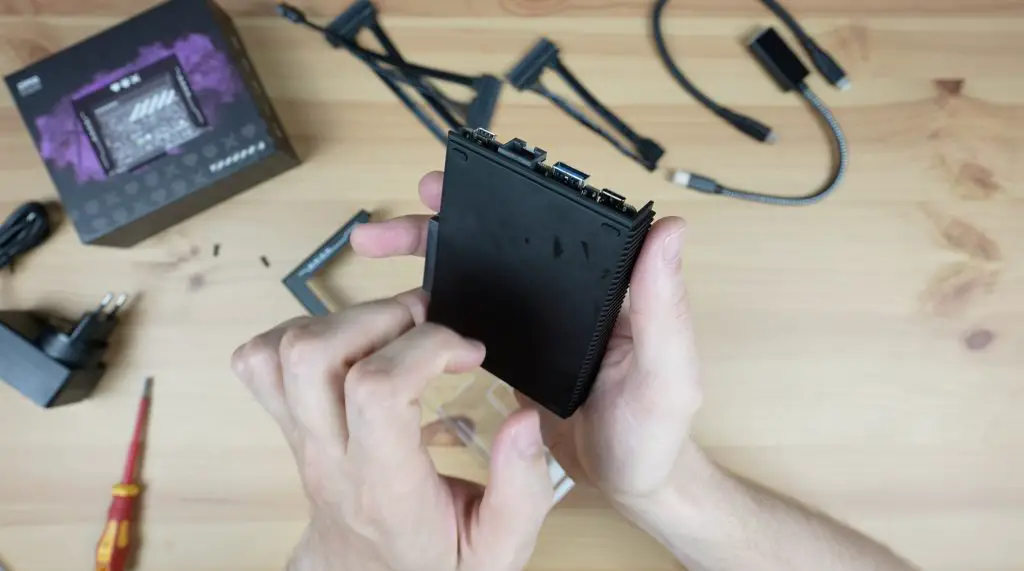
The included case consists of three main parts. An injection moulded black frame, a transparent window and an aluminium base plate that doubles up as the passive heat sink for the CPU.
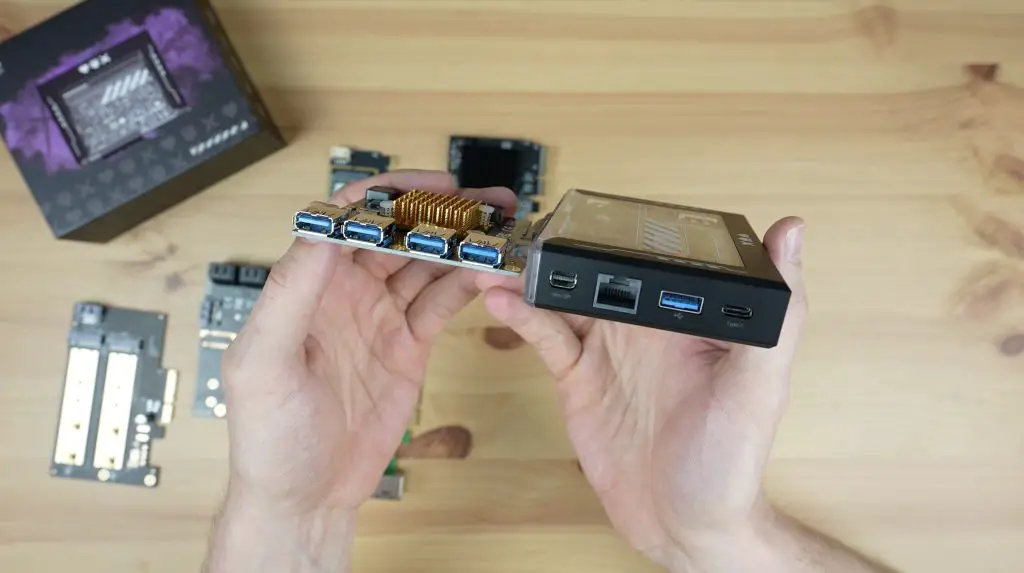
Ports & Interfaces On The ZimaBlade
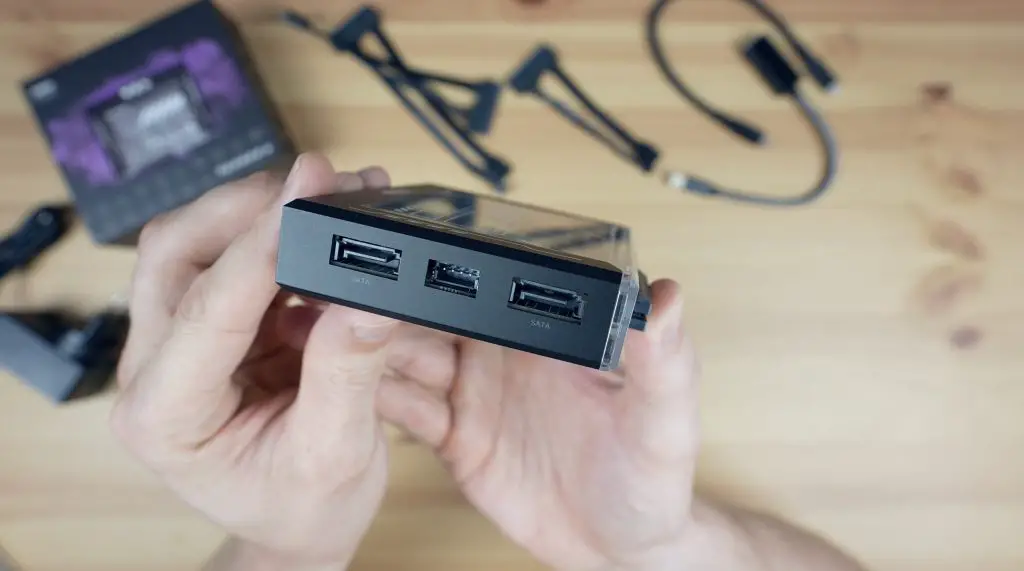
Taking a look around the board. Like with the ZimaBoard, we have dual SATA 3.0 ports on one side, which will each do 6Gbps, and they’ve got a shared power supply to the drives in the middle.
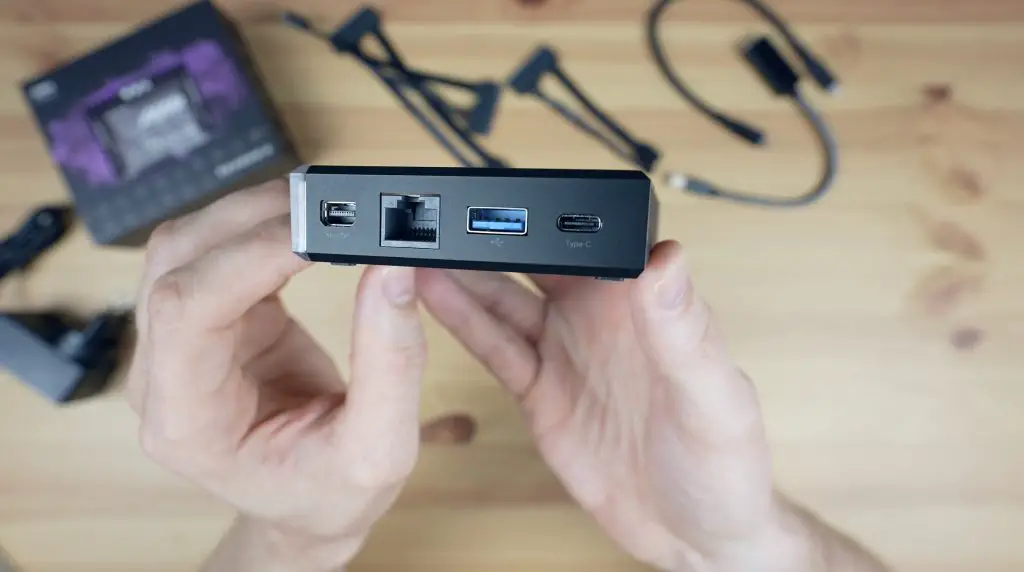
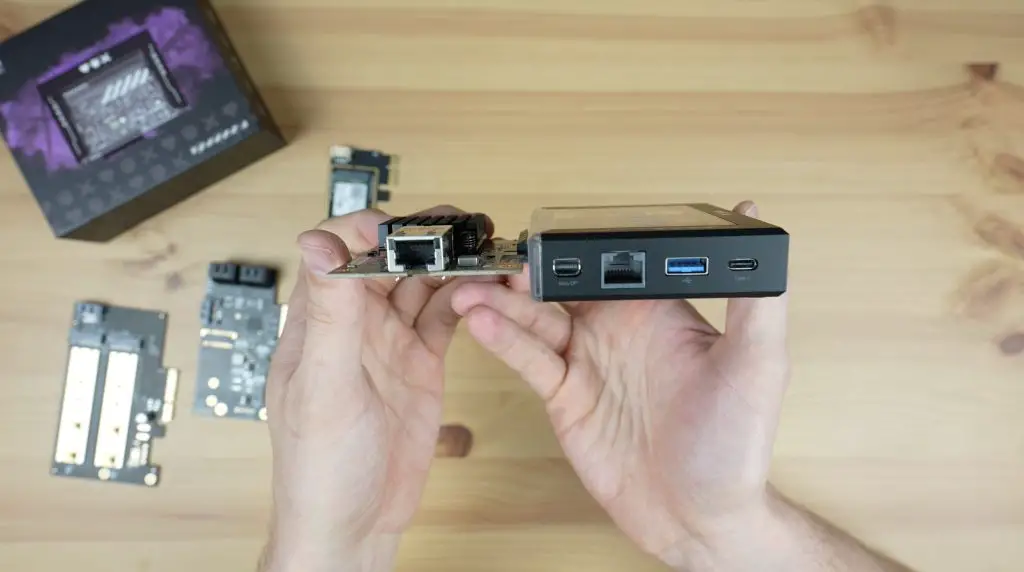
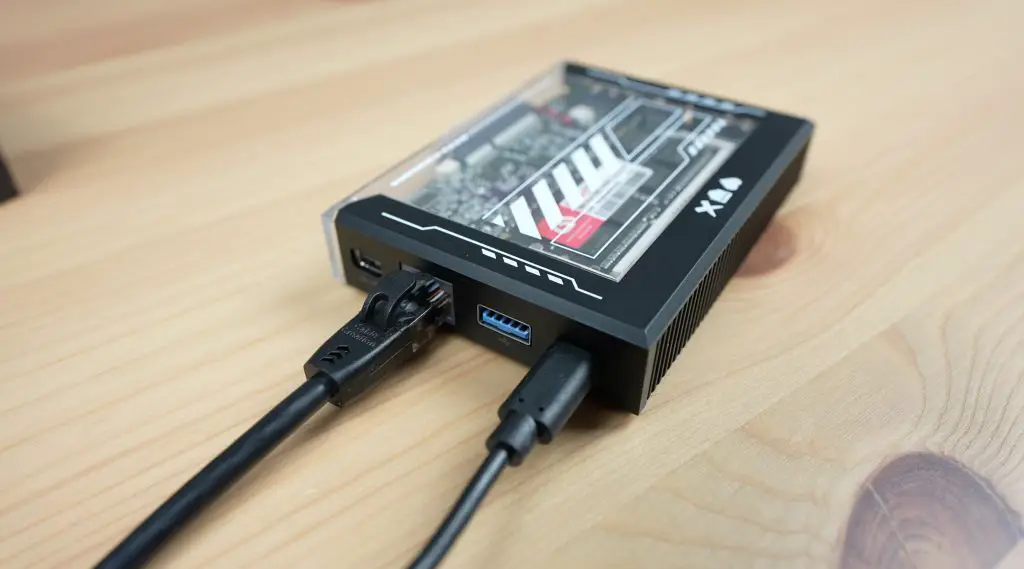
On the opposite side, we have a miniDisplay port which supports 4K at 60hz, a Gigabit Ethernet port, a USB 3.0 port and then a USB C port which can be used for data, power or for another display.
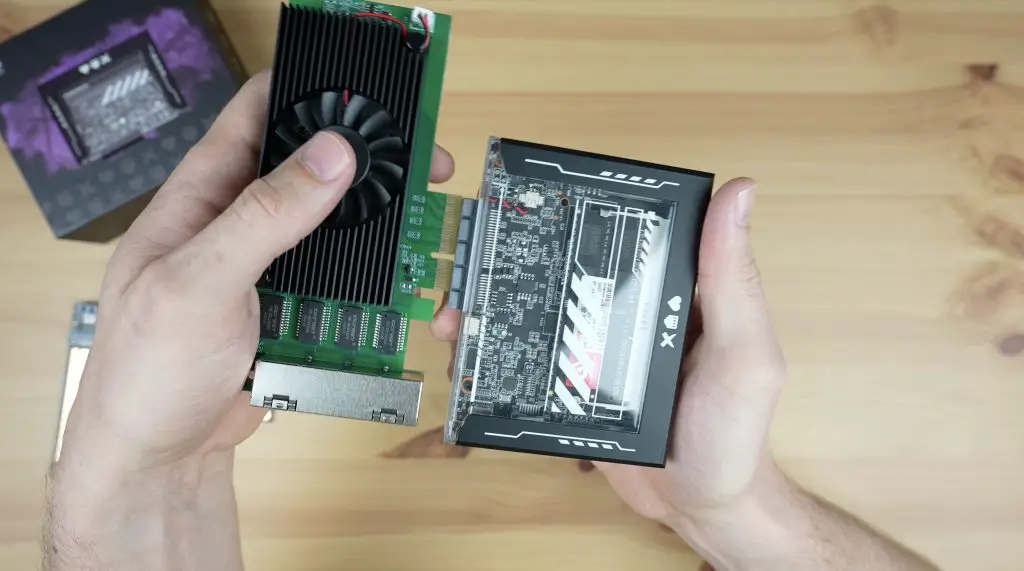
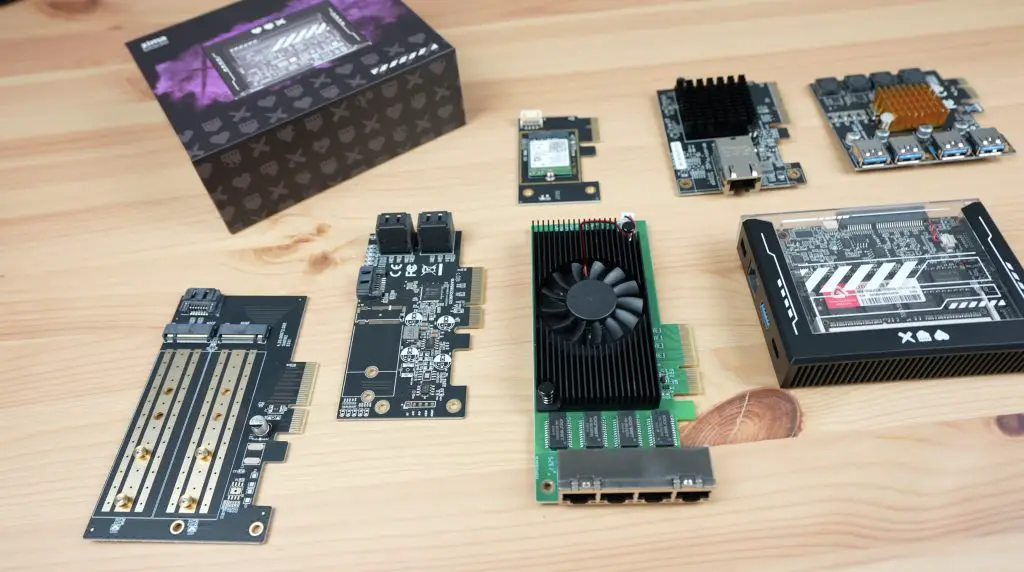
Along the main side is one of my favourite features, a 4-lane PCIe 2.0 port which will do up to 2 Gb/s.
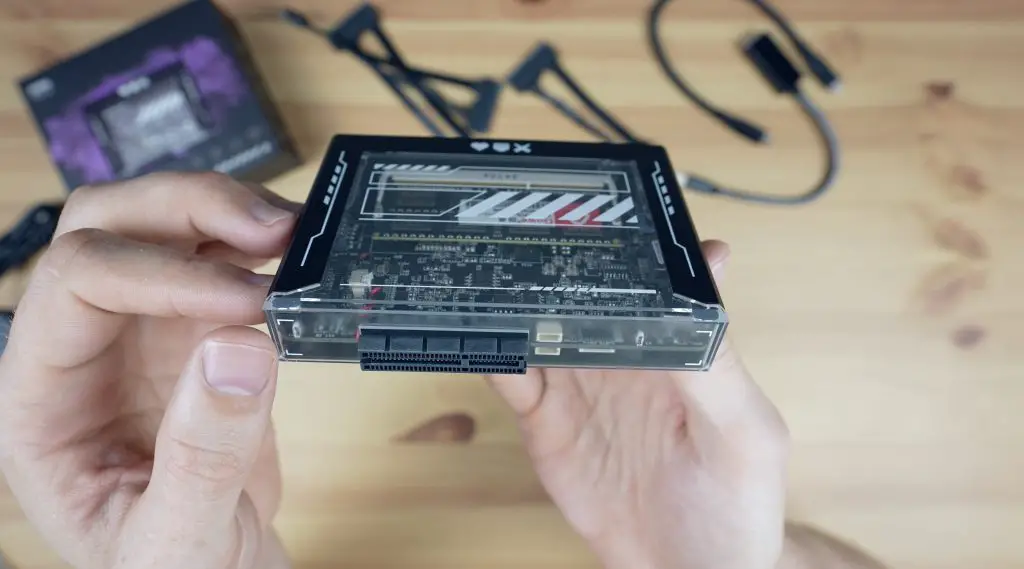
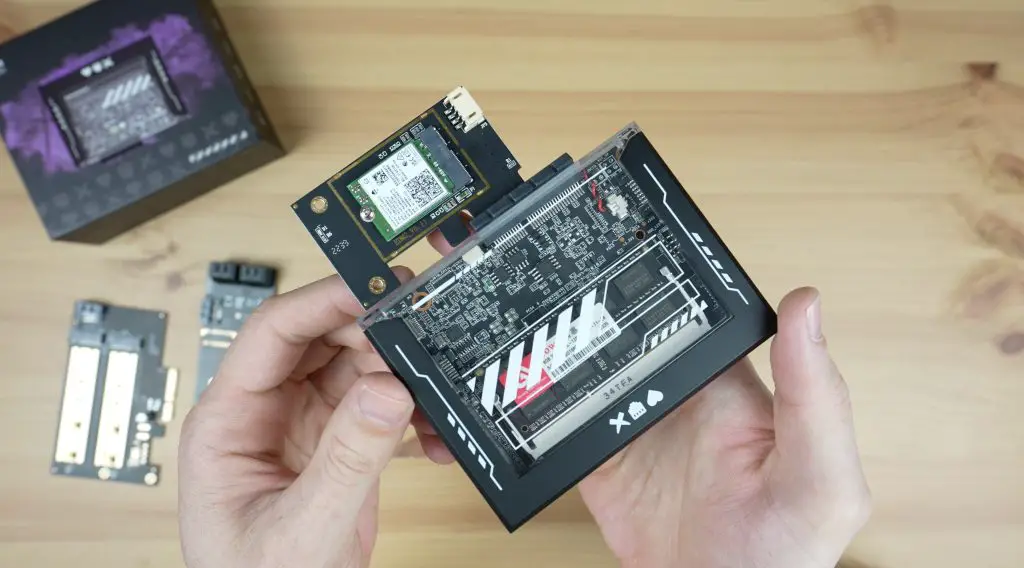
This port allows you to really customise the ZimaBlade to suit your particular application. You could add a SATA or M.2 NVME adaptor to add storage to your ZimaBlade.
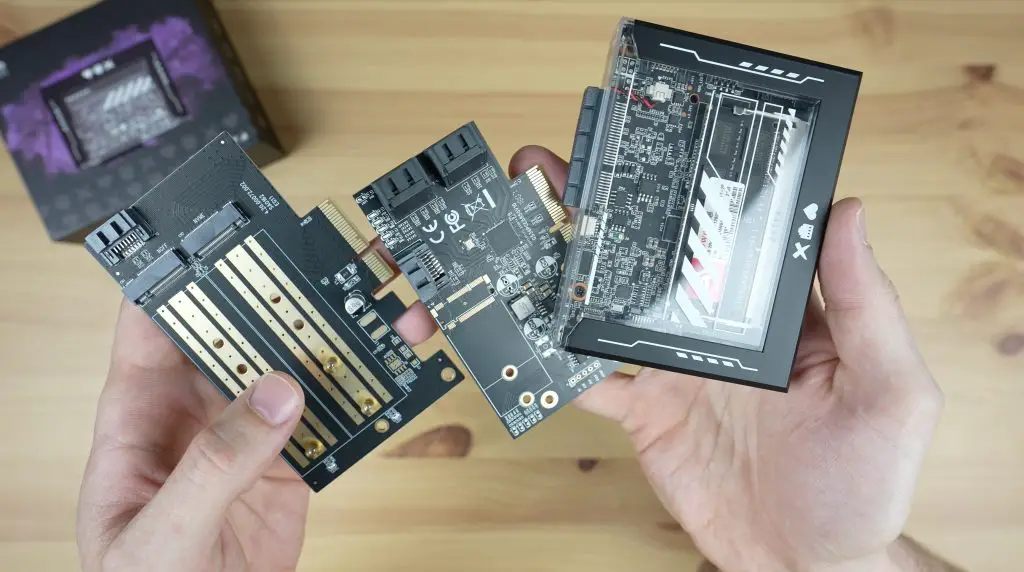
Or improve its networking abilities with a WiFi 6E adaptor, or a 2.5G or even a 10G Ethernet adaptor.
Or add additional USB ports if you need.
So that’s an overview of the hardware, next let’s get it booted up and take a look at the software.
First Boot & Operating System
The ZimaBlade, being x86 can run an extensive range of operating systems, but it comes preloaded with Ice Whale’s Debian-based software package called CasaOS.
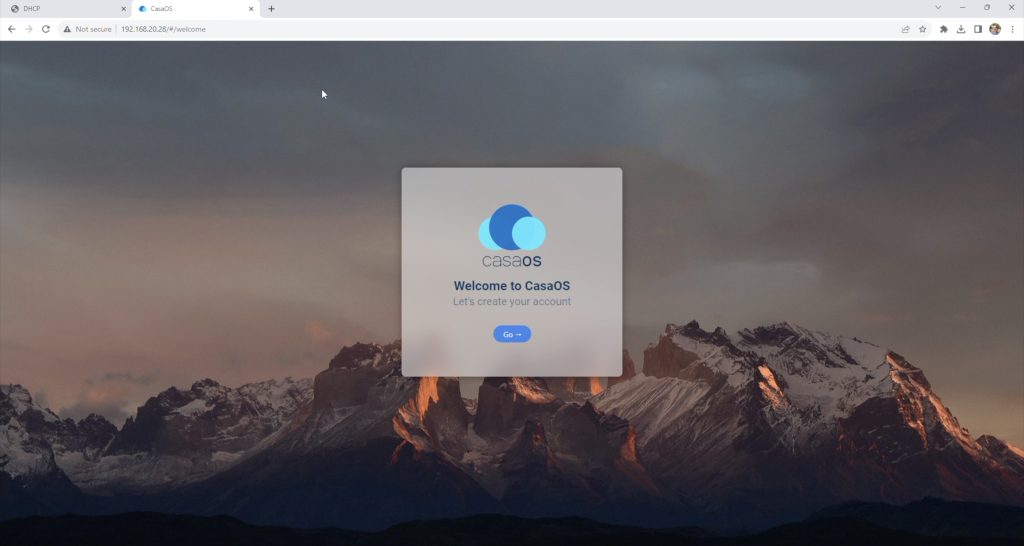
This is essentially a Docker installation with an easy-to-use web interface, so it’s really easy to start deploying Docker images with very little configuration required.
With CasaOS installed by default, it is designed to run headless (without a monitor), so we can boot it up and then access it through a web dashboard on another computer. To do this we just need a network cable and the included power adaptor.
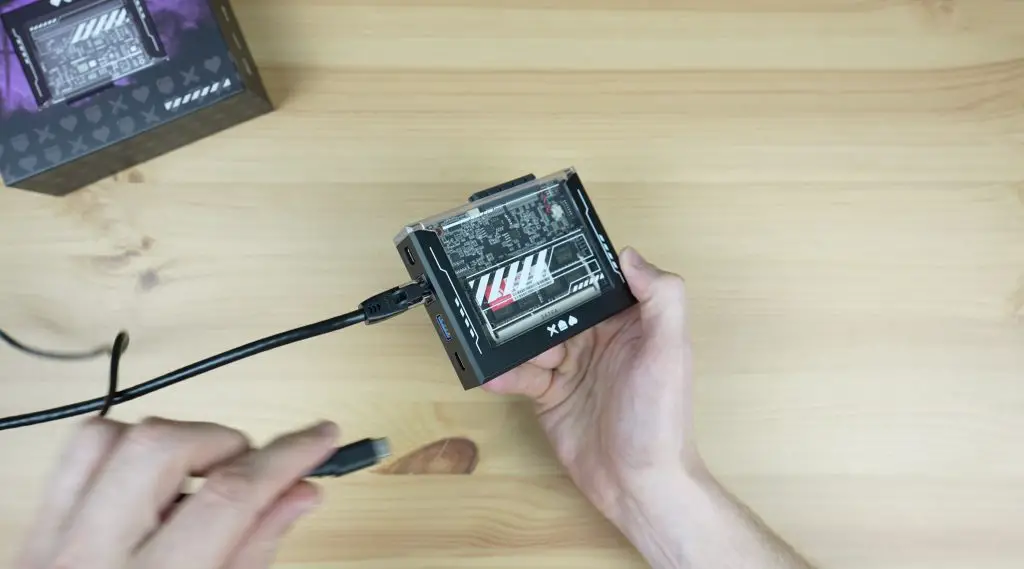
There is a tiny red power LED on the underside of the board but it is quite difficult to see through the case and the network port doesn’t have any activity LEDs on it. So it is a bit difficult to see whether the ZimaBlade is powered up.
We’ll give it a couple of minutes to boot up and we then need to find it’s IP address on our network so that we can access the web dashboard.
They have created an online tool called Find Zima which searches your local network to find connected Zimaboards or Zimablades. This doesn’t yet work on this early version of the ZimaBlade’s firmware but I was able to find the IP address of my ZimaBlade by looking at my network’s DHCP table.

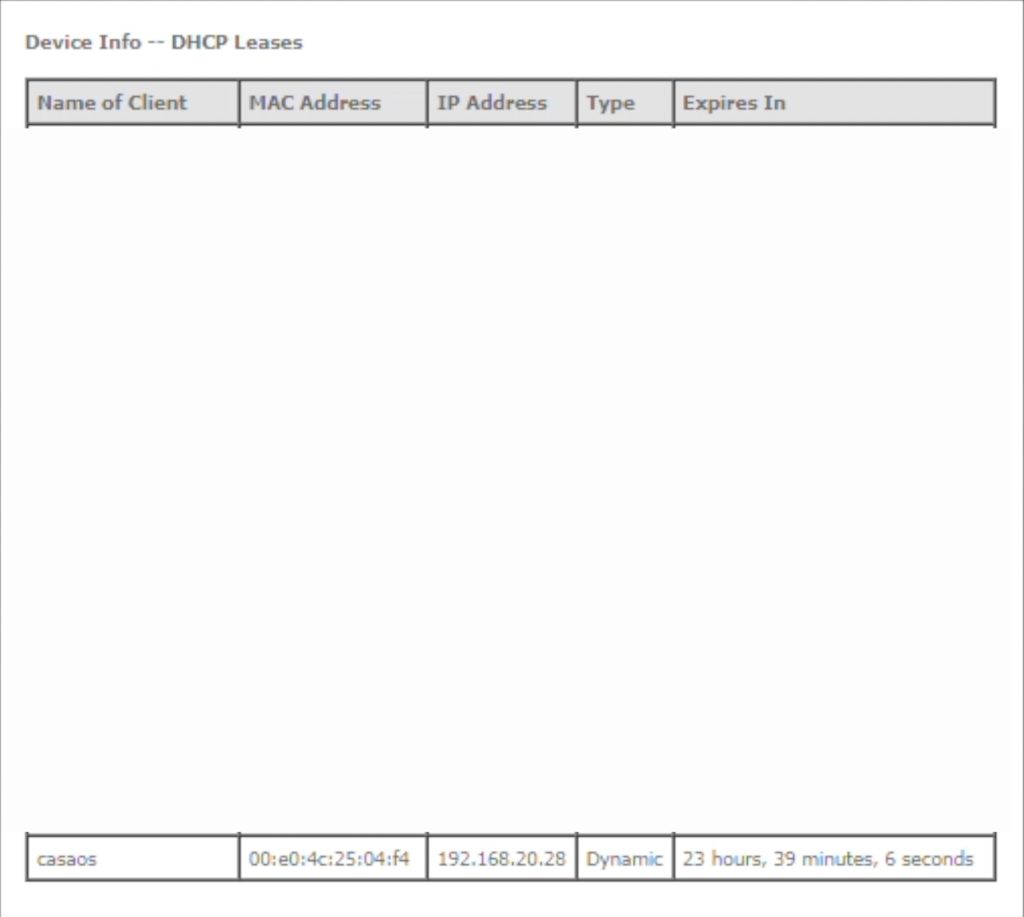
We can then type the IP address into a web browser on a computer on the same network and create a login to CasaOS.
Using CasaOS & Installing Apps
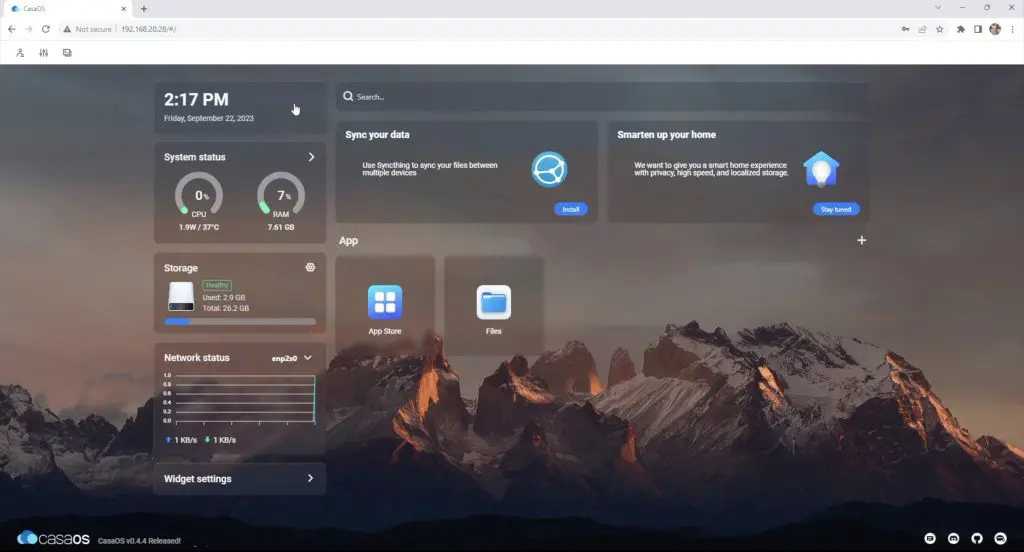
Once we have created a login, we land on the CasaOS homepage. This has a few widgets installed by default which show the date and time, system stats, storage stats and network status in a bar on the left. On the right side, we then have the app area.
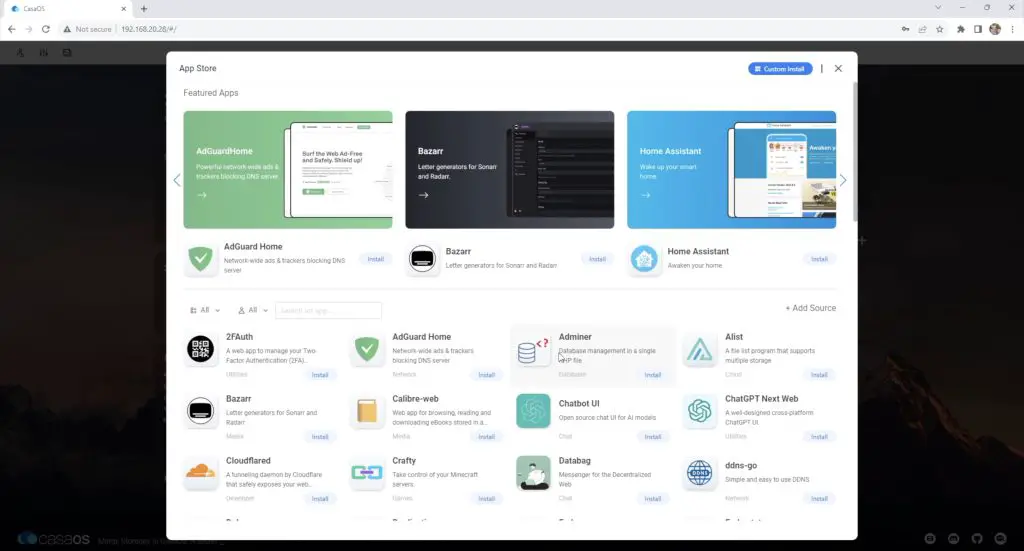
They make it really easy for beginners as they have created their own App Store which has a range of a little over 50 ready-to-run docker images that have been pre-configured to run on the ZimaBlade.
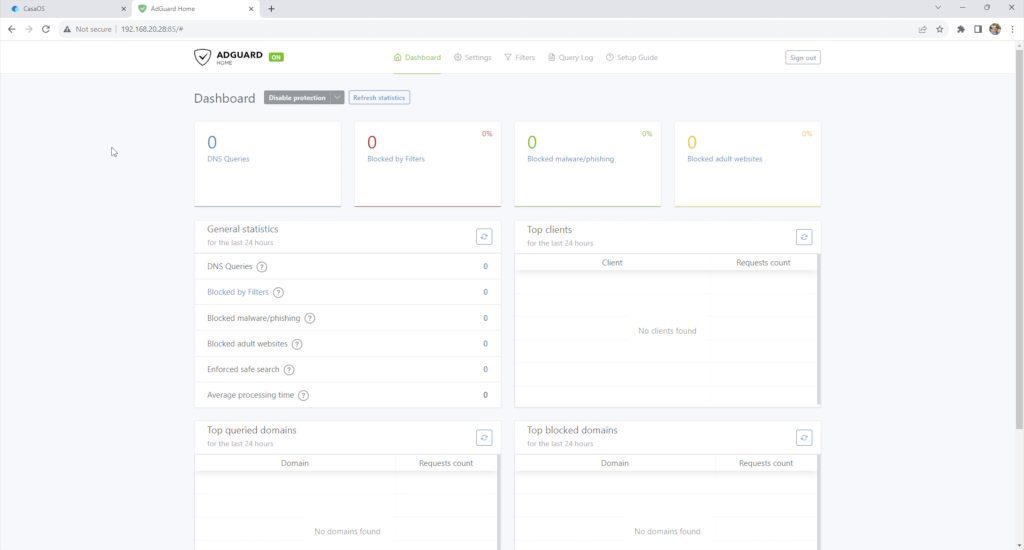
To start with, let’s go with setting up AdGuard Home first as a network-wide ad and tracker blocking service.
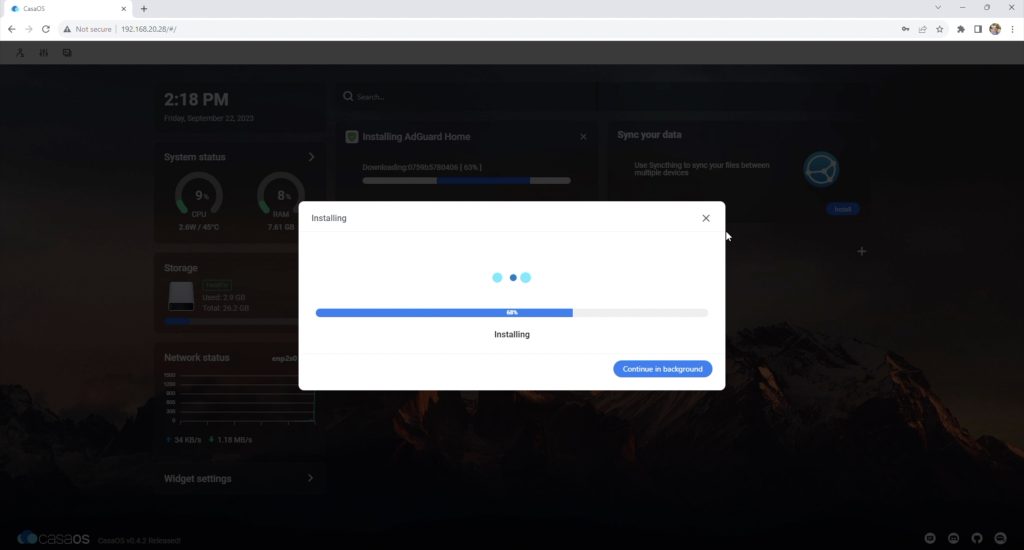
It’s a one-click install and we can then access the AdGuard homepage by simply clicking on the App. You’ll still need to reconfigure your network’s DNS settings to get traffic flowing through it but it doesn’t get much simpler than this to get applications running.
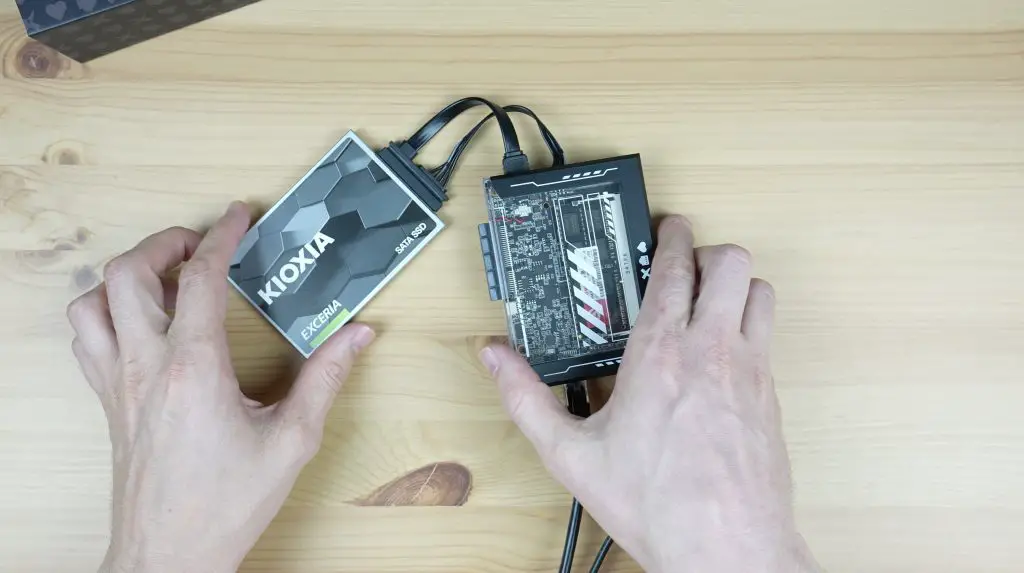
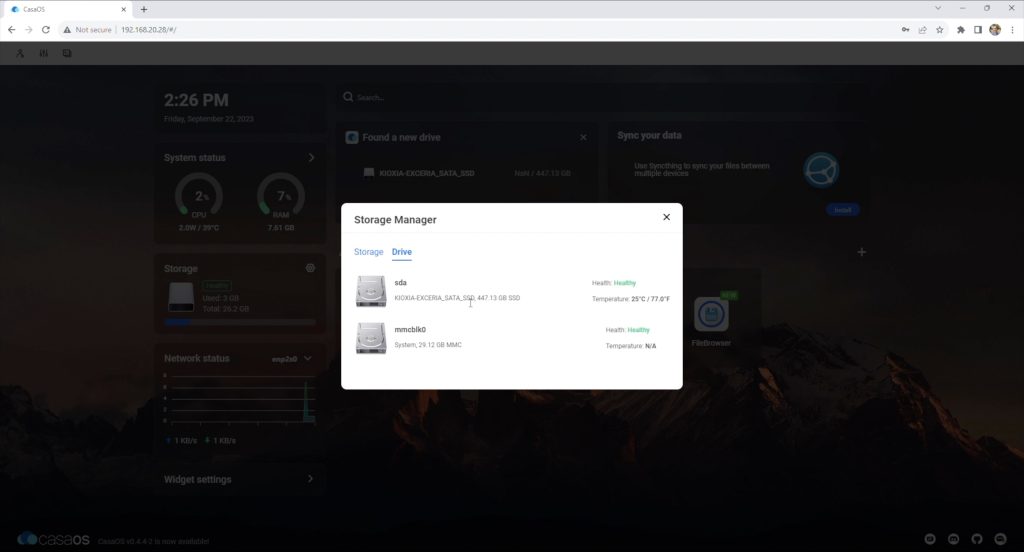
There are loads of options for Apps to run on the ZimaBlade to truly customise your home server experience. You could build your own local networked file storage system or NAS after connecting some storage drives to the SATA ports.
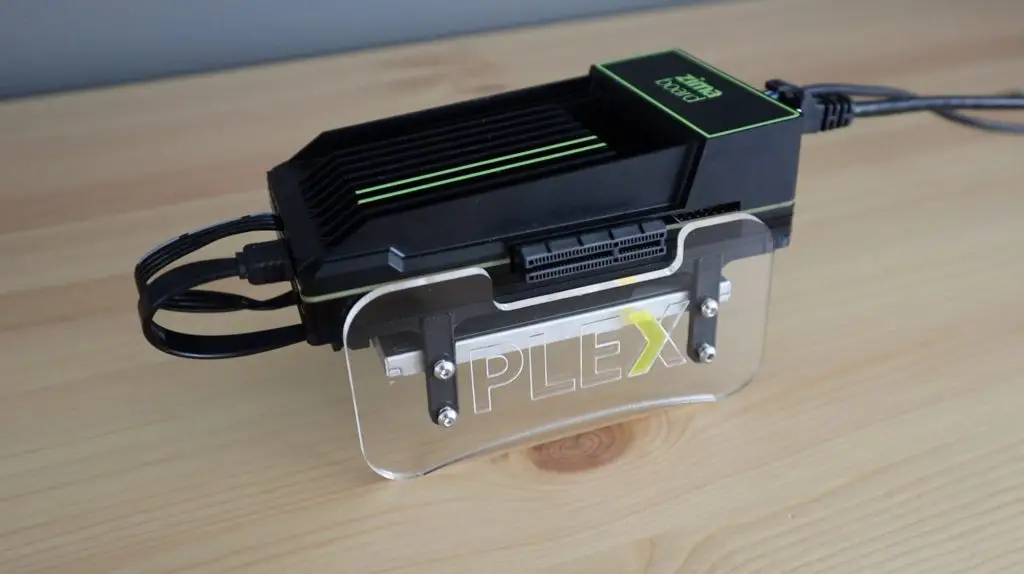
Like I did with the ZimaBoard, using Plex, you can build your own media server to host your own media and avoid having to pay for subscription services.
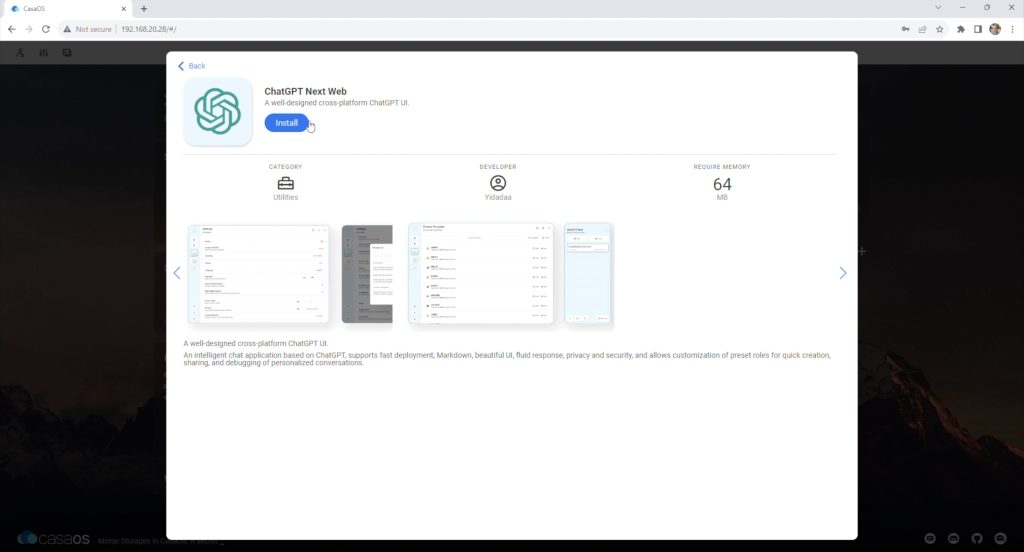
There are also a number of other apps available. For example, we can install a ChatGPT app.
If this operating system is not for you, you are not locked into CasaOS. You can overwrite the operating system with your own OS install, and being x86 architecture, you’ve got a lot of options.
Running A Sysbench Benchmark
Performance-wise, we can test the ZimaBlade’s performance by running the Sysbench benchmark.
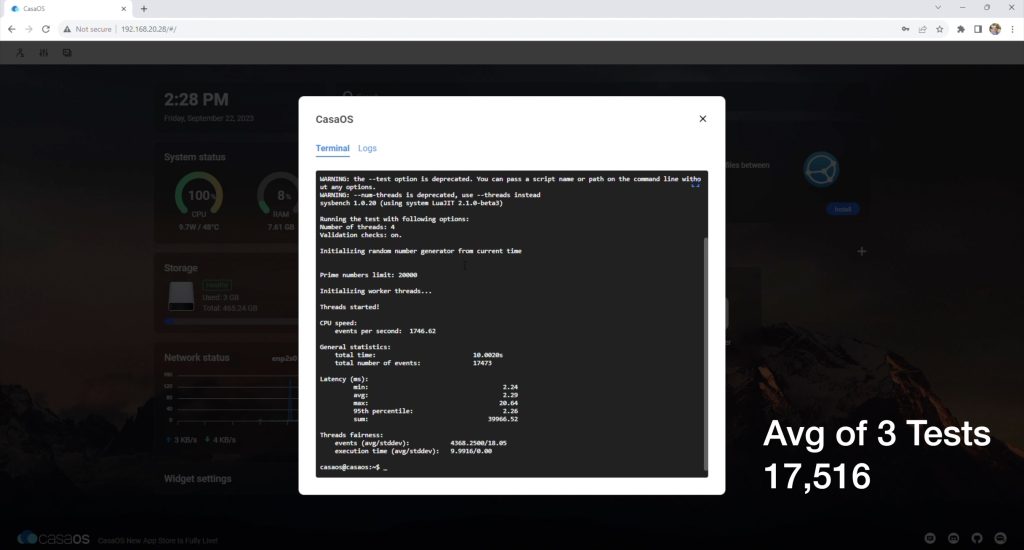
After three consecutive tests, I got an average score of 17,516.
So it is quite a lot more powerful than a Raspberry Pi 4, which would score around 2,000 but is not as powerful as a board running the 8-core Rockchip RK3588 processor which would score around 50,000.
Power Consumption
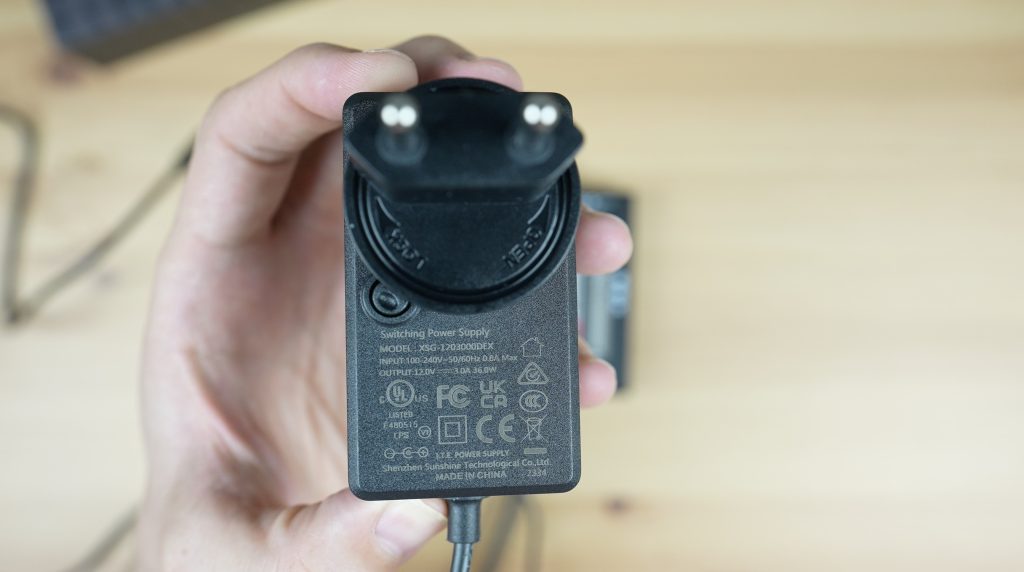
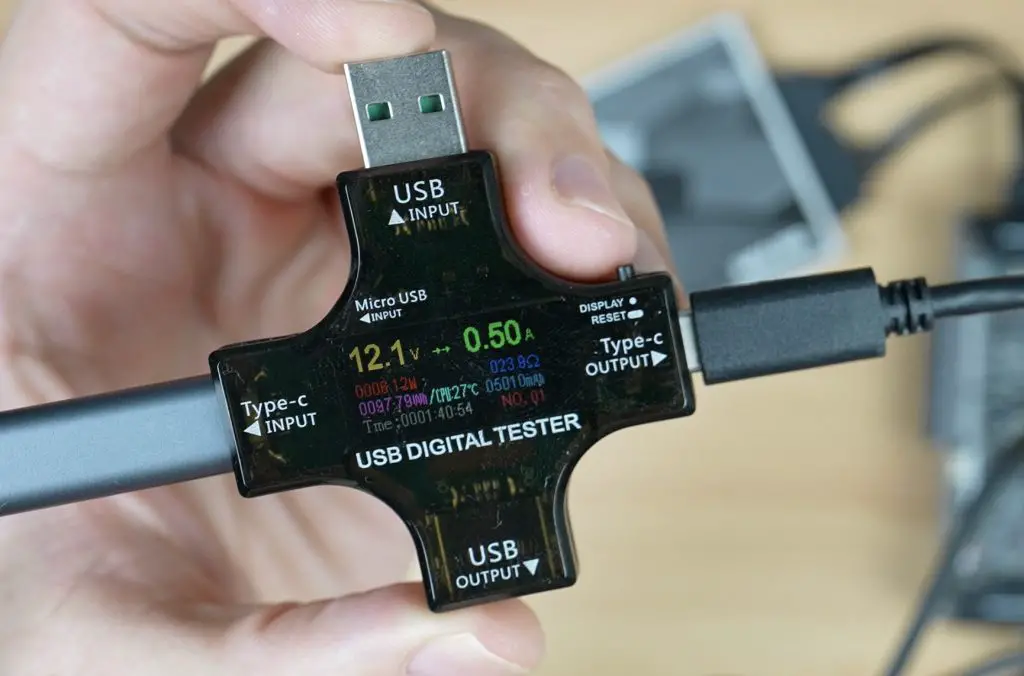
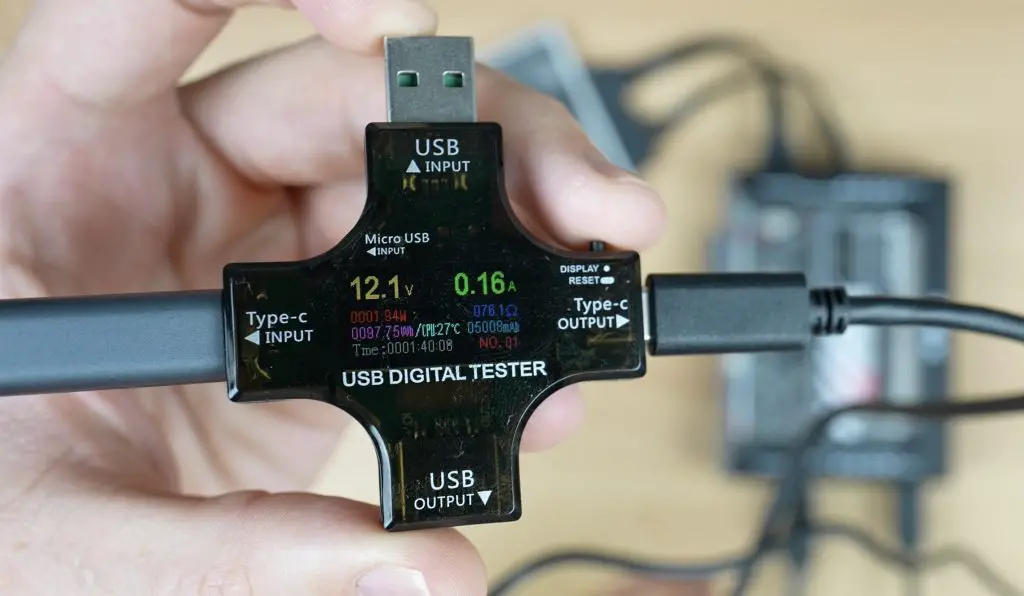
Lastly, let’s take a look at its power consumption. When I started this test, I found something a bit disappointing with the power adaptor. It is a USB-C style adaptor, but when you plug it into the power meter, you immediately get 12V out of it, even without a connected device.
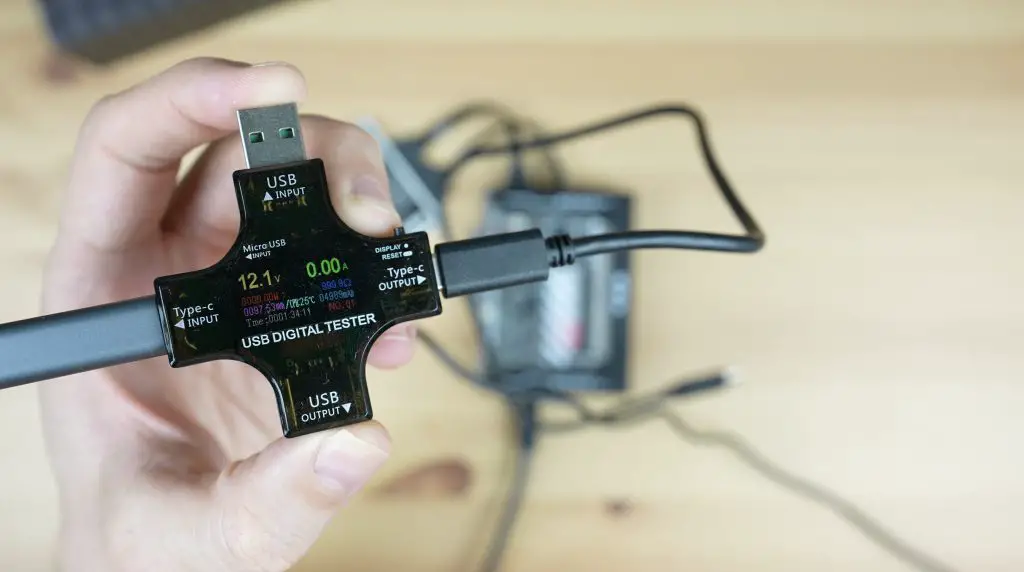
Without a connected device, the adaptor should be outputting 5V and it should only step this up when the connected device agrees on a higher voltage. I checked the adaptor and it also only had it’s 12V output identified.
While this is fine for this particular application, having adaptors like this in existence around your home puts all of your other electronics at risk. You could very easily plug in a non Power Delivery, or lower voltage Power Delivery device like a smartphone and instantly destroy it’s power circuit. I really don’t like that these non-compliant adaptors are being made and I hope Ice Whale fix this in the final version of the product.
When idle, the ZimaBlade uses just under 2W, which is impressively low.
When fully loaded this jumps up to around 6W. So even running fully loaded, this board uses less power than a small LED lightbulb.
Final Thoughts On The ZimaBlade
That’s my first look at the ZimaBlade. I quite liked the original ZimaBoard, especially the simplicity of the software and the inclusion of the PCIE port, so having the same features available in a much cheaper package is great.

I really like that the ZimaBlade includes a case, so you don’t have to worry about spending more money to protect it. It would be nice to see them do something to better accommodate PCIe cards that are plugged into it as well, these currently look like afterthoughts when used with the case.
This is also a fantastic home server option for someone who is energy conscious, drawing only 2W most of the time it is on is not even going to be noticeable on your power bill. I’m looking forward to trying out some PCIE expansion cards to add functionality to my ZimaBlade home server in the future.
Let me know what projects you’re keen to try on the ZimaBlade in the comments section below, and let me know if you’ve tried any good apps available in CasaOS.
The post This Is A Great Mini Personal Server, The New ZimaBlade appeared first on The DIY Life.


